How to install an SSL Certificate
Once you have ordered an SSL certificate, you will need to install it.
Installing an SSL on cPanel
Step 1 - Once you've purchased a certificate, you will receive an email titled: Your SSL Certificate - Installation Instructions. Keep this open and take note of the Token, then move onto Step 2.

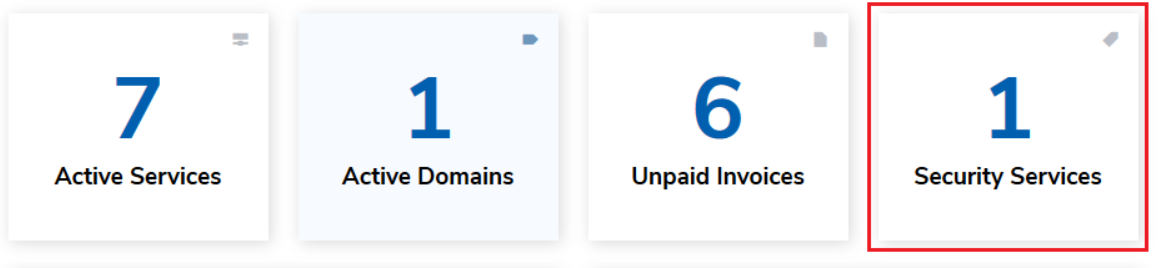
Note: If you don't have access to this email, open your client area and click on Security Services on the Dashboard.
You can then click on the View Details option next to the certificate you would like to install:
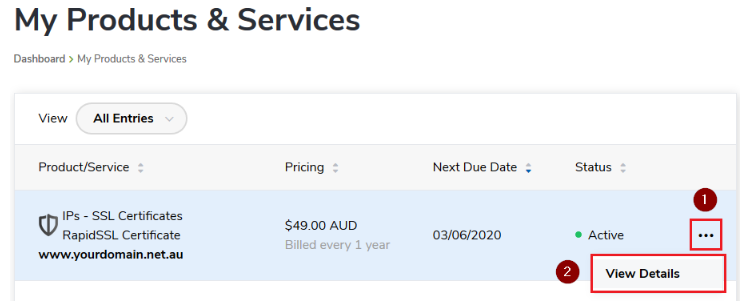
Copy the token code that is displayed on the certificate details page.
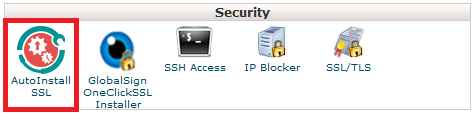
Step 2 - Log into cPanel and click on AutoInstall SSL.
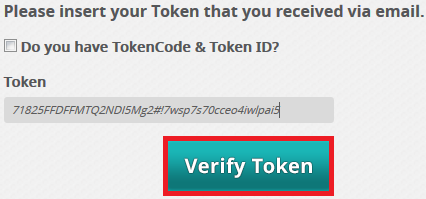
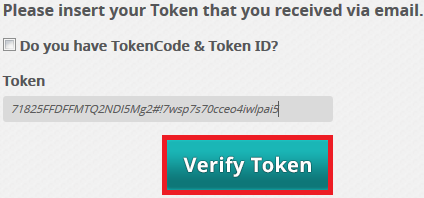
Step 3 - Paste the token from the email and click Verify Token, which will log you into the AutoInstall management area.
Step 4 - Select your Domain. You can choose the primary domain, a subdomain or an addon domain to add the SSL to. You cannot add an SSL to an Alias/Parked domain. Also, make sure that the 2 check boxes are enabled.
Note: If you are installing this SSL on a subdomain like "example.yourdomain.net.au", do not check the box for "Would you like to use 'www'?".

Step 5 - Add your personal details. Make sure there are no spaces either to the left or right of each field. Click Submit once you're done.

Note: Occasionally, you may get this error. If you do, wait 30 minutes and click on the Click Here button.

If that fails, you may need to wait 1 hour and complete the steps in the Reinstalling an SSL tab below. Some SSL orders are randomly chosen to go through a manual verification process for security purposes, and this is the reason for this issue. In this case, the only option is to wait.
After all the processing steps are completed, your SSL should now be installed. In order to test this, you can use this external tool. If your site is still showing "Not Secure" or loads without a padlock, you may be serving Mixed Content.


In order to check Mixed Content you can use this tool, but to resolve this you will need to contact your website developer.
Note: Installing an SSL certificate is not all that's needed to have your site load with the padlock icon. You will also need to force your site to use https/SSL.
Installing an SSL on Plesk
Step 1 - Once you've purchased a certificate, you will receive an email titled: Your SSL Certificate - Installation Instructions. Keep this open and take note of the Token, then move onto Step 2.

Note: If you don't have access to this email, open your client area and click on Security Services on the Dashboard.
You can then click on the View Details option next to the certificate you would like to install:
Copy the token code that is displayed on the certificate details page.
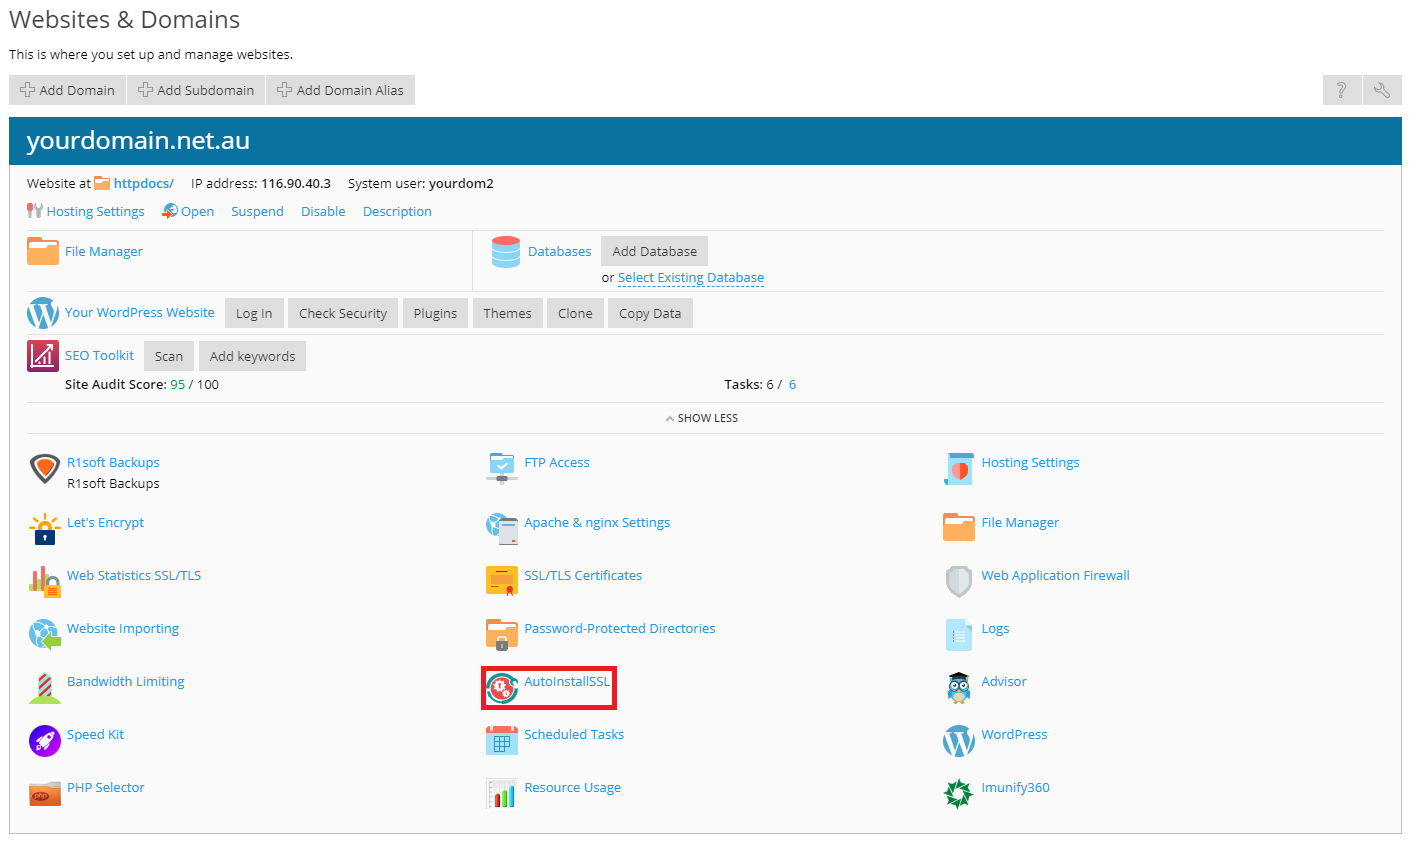
Step 2 - Log into Plesk, then click on AutoInstallSSL from the Websites & Domains page.
Step 3 - Paste the token from the email and click Verify Token.
Step 4 - Select your Domain. You can choose the primary domain, a subdomain or an addon domain to add the SSL to. You cannot add an SSL to an Alias/Parked domain. Also, make sure that the 2 check boxes are enabled.
Note: If you are installing this SSL on a subdomain like "example.yourdomain.net.au", do not check the box for "Would you like to use 'www'?".
Step 5 - Add your personal details. Make sure there are no spaces either to the left or right of each field. Click Submit once you're done.
Note: Occasionally, you may get this error. If you do, wait 30 minutes and click on the Click Here button.
If that fails, you may need to wait 1 hour and complete the steps in the Reinstalling an SSL tab below. Some SSL orders are randomly chosen to go through a manual verification process for security purposes, and this is the reason for this issue. In this case, the only option is to wait.
After all the processing steps are completed, your SSL should now be installed. In order to test this, you can use this external tool. If your site is still showing "Not Secure" or loads without a padlock, you may be serving Mixed Content.
In order to check Mixed Content you can use this tool, but to resolve this you will need to contact your website developer.
Note: Installing an SSL certificate is not all that's needed to have your site load with the padlock icon. You will also need to force your site to use https/SSL.
Reissuing or Reinstalling
In certain cases, you may need to Reissue or Reinstall an SSL. If this is needed, you can follow these additional steps:
How to reissue an SSL Certificate
Note: You would usually not need to reissue a certificate once issued, but if you want to update any SSL information or if an SSL signing authority changes, this may become necessary.
Step 1 - Follow steps 1 - 3 in the Installing an SSL section to log into the AutoInstall SSL tool. Once logged in, you should see options to manage your active certificate:
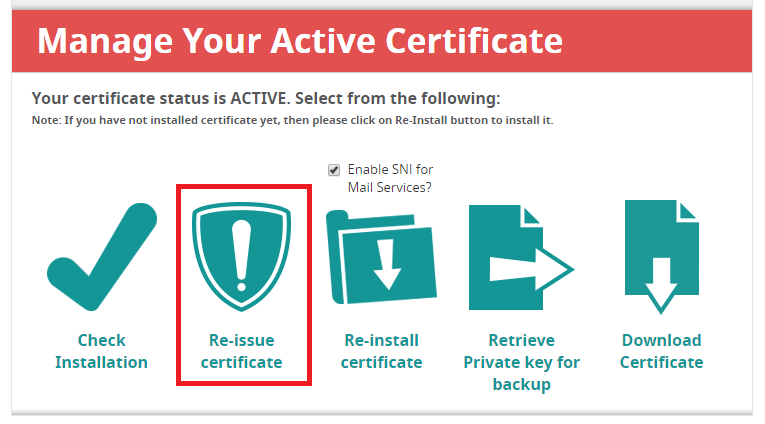
Step 2 - Select the Re-issue certificate option. You will then need to enter in SSL details again, and select Submit. The certificate will go through the reissuing process, and once complete you can use this tool to confirm it has been reissued successfully.
Note: Similar to issuing a certificate, you may get this error in some cases. If you do, wait 30 minutes and click on the Click Here button.
If that also fails, you may need to wait 1 hour and complete the steps in the Reinstalling an SSL tab below.
How to reinstall an SSL Certificate
Step 1 - Follow steps 1 - 3 in the Installing an SSL section to log into the AutoInstall SSL tool. Once logged in, you should see a page like this:
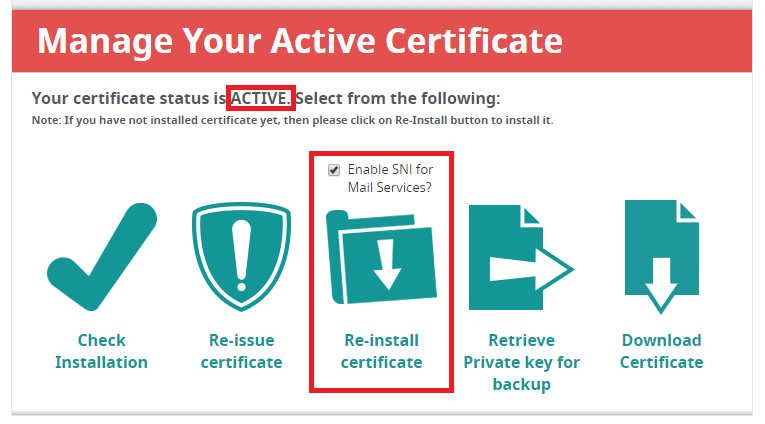
Step 2 - Check if the certificate status is ACTIVE. If so, click Re-install certificate, and you will be done.
Troubleshooting:
If the status is PENDING or otherwise, the SSL validation has not yet completed.
Step 3 - Make sure the website is loading from our server. Use a DNS checker like whatsmydns.net to make sure the IP address of the A record is the same as your server IP. You can find your server IP in the "Hosting Account Information" email we sent when you set up the account. If the IPs don't match, it means your site isn't loading from our server and you'll need to contact your website hosts to install an SSL instead.
Note: If you are trying to set up an SSL before the site is live, you can contact our support team to change the validation method to Email Authentication. This requires access to any of the following email addresses:
admin@yourdomain.net.au
administrator@yourdomain.net.au
webmaster@yourdomain.net.au
hostmaster@yourdomain.net.au
postmaster@yourdomain.net.au
Step 4 - Sometimes code in your site causes unusual redirects that interfere with the validation steps. Adding this code to the top of your .htaccess file should resolve this, but you may need to speak to your developer to confirm:
RewriteCond %{REQUEST_URI} !^/[0-9]+\..+\.cpaneldcv$
RewriteCond %{REQUEST_URI} !^/\.well-known/acme-challenge/.+$
RewriteCond %{REQUEST_URI} !^/\.well-known/acme-challenge/[0-9a-zA-Z_-]+$
RewriteCond %{REQUEST_URI} !^/\.well-known/pki-validation/[A-F0-9]{32}\.txt(?:\ Comodo\ DCV)?$
After all the processing steps are completed, your SSL should now be installed. In order to test this, you can use this external tool. If your site is still showing "Not Secure" or loads without a padlock, you may be serving Mixed Content.
In order to check Mixed Content you can use this tool, but to resolve this you will need to contact your website developer.
Note: Installing an SSL certificate is not all that's needed to have your site load with the padlock icon. You will also need to force your site to use https/SSL.